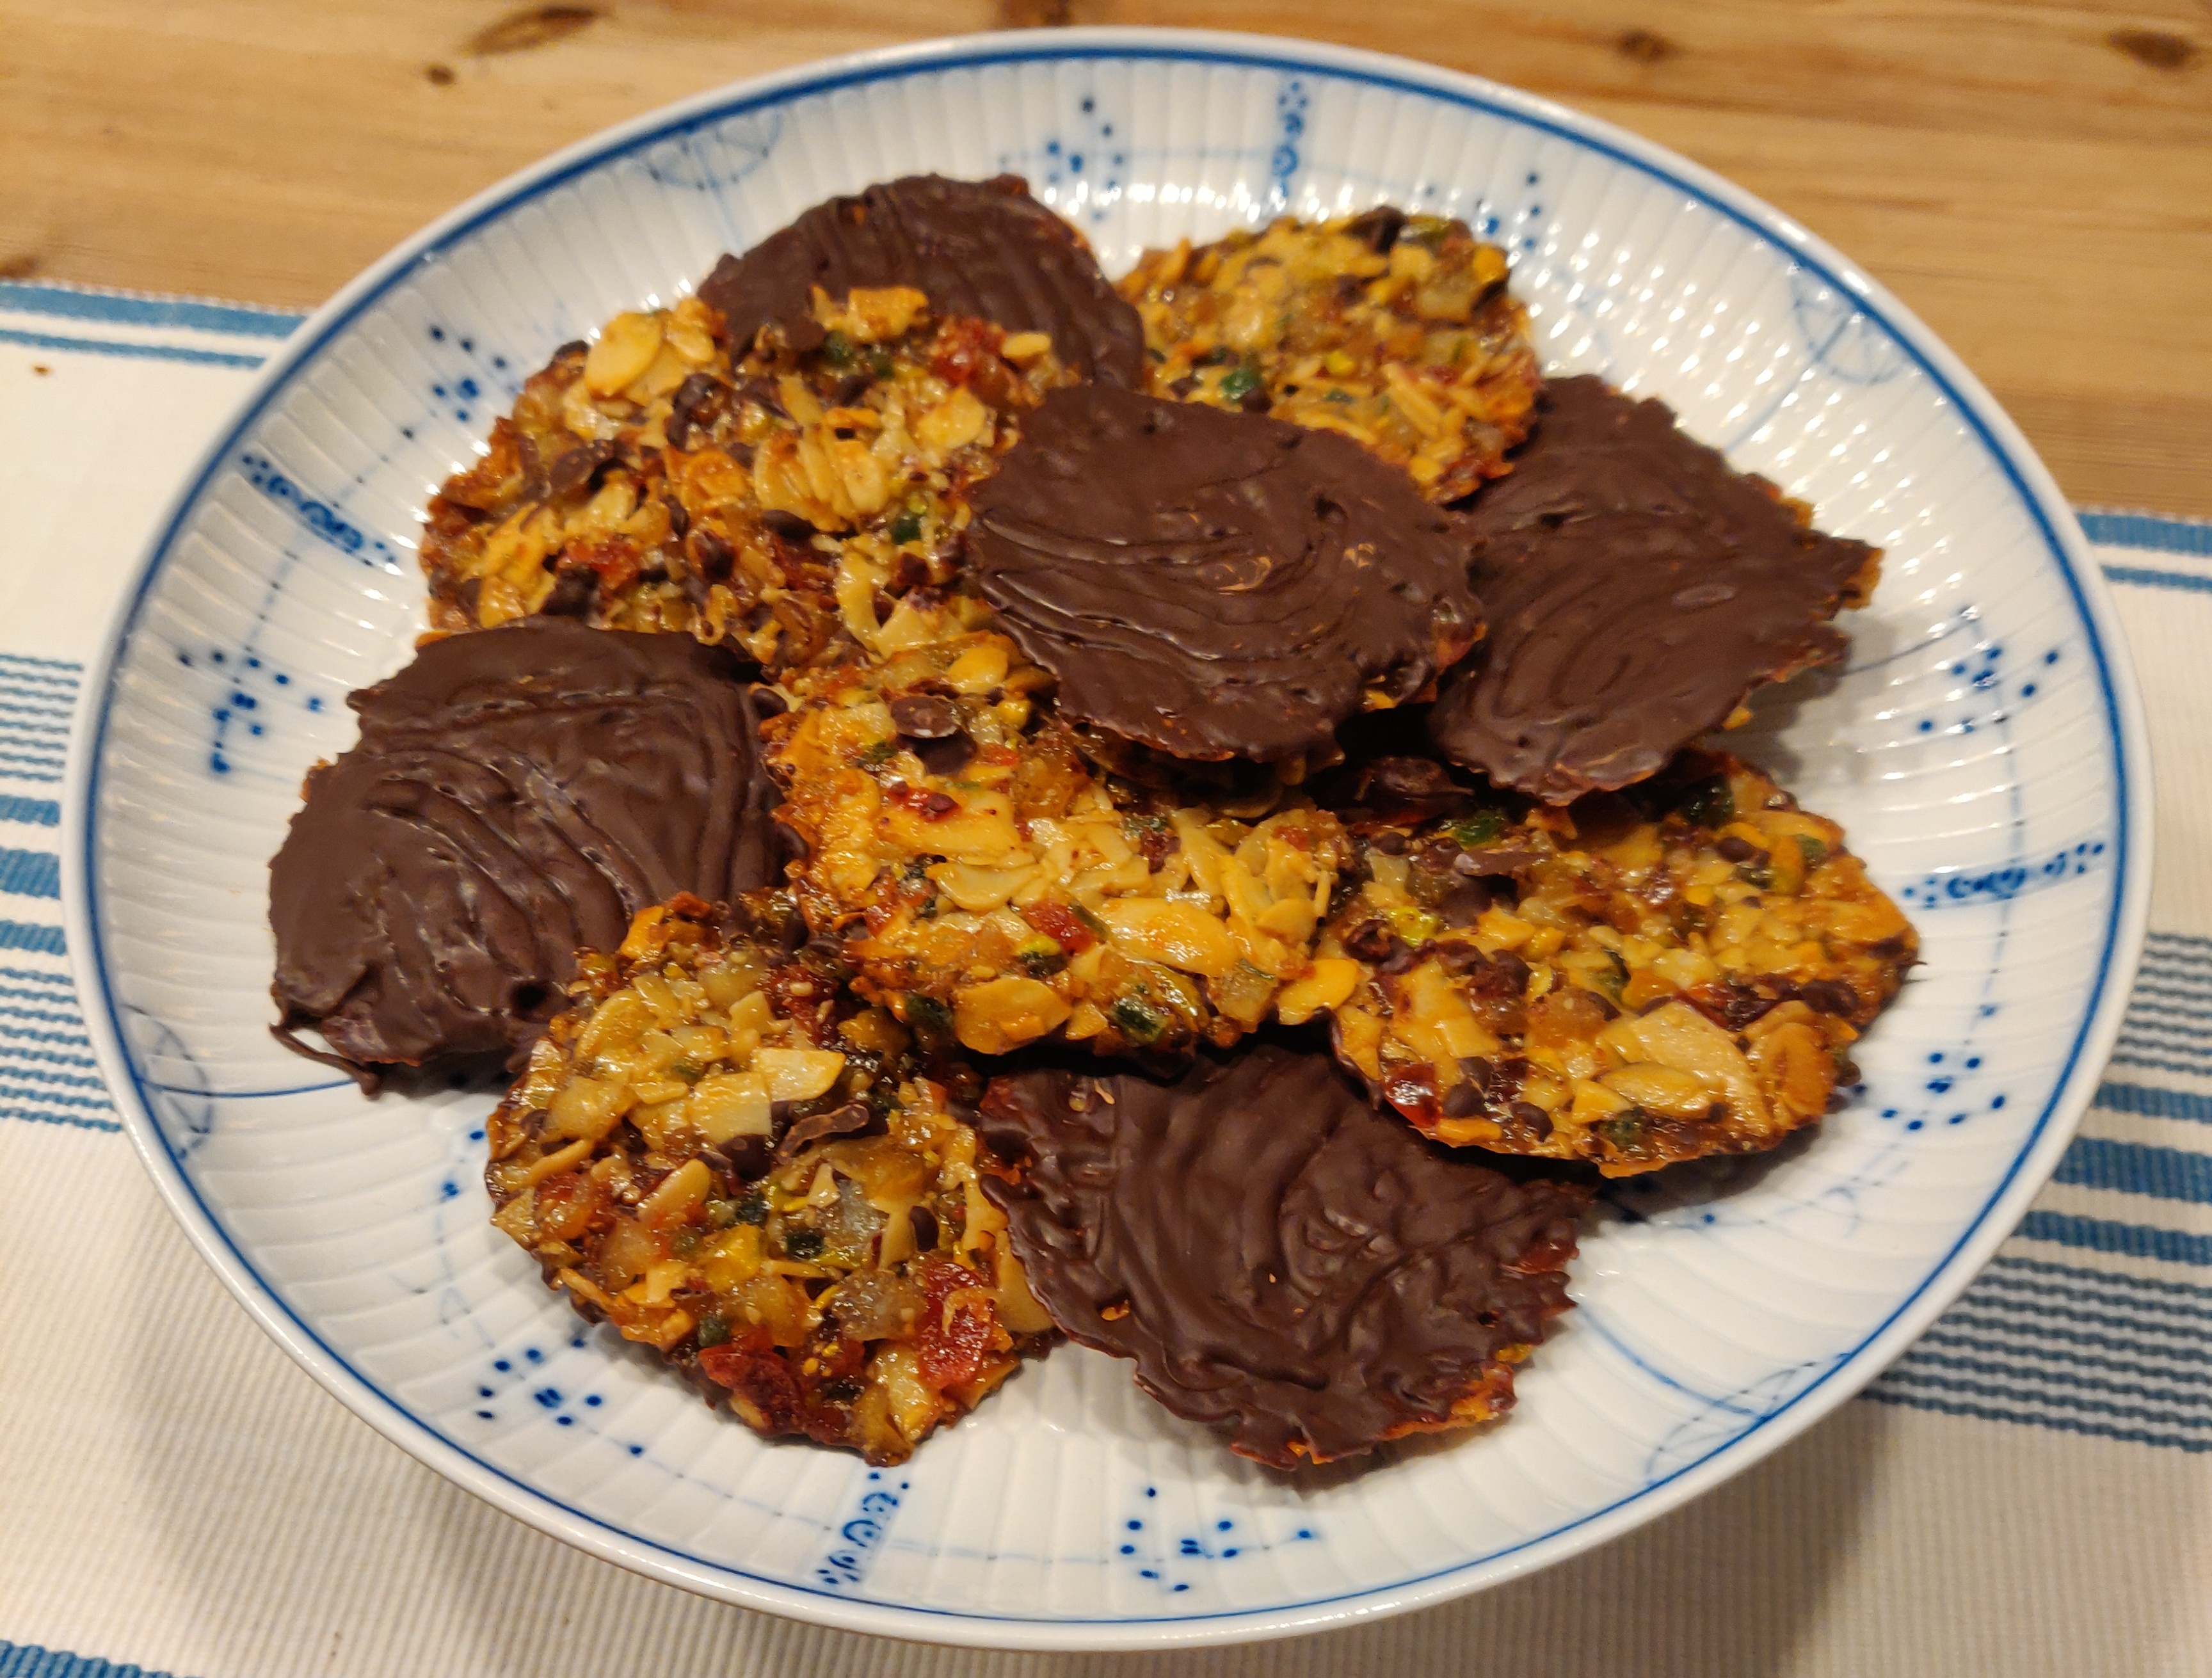
The first time I tried one (on a visit to Trier in the
1970s) I couldn’t believe how good they tasted. But it’s taken
until now to get down to the business of actually making them
myself. This is an attempt to recapture that first taste, with
forays 🔗 into Delia, Felicity, Lottie,
Linda, and others.
Your support for our advertisers
helps cover the cost of hosting, research,
and maintenance of this site
Makes 24. Heat your (fan) oven to 170°C. Prep time: 20 minutes. Cooking time: 8½ minutes.
Ingredients
- 100 g flaked almonds (or half almonds, half pine-nuts)
- 30 g pistachios | shelled and chopped
- 50 g candied peel | chopped
- 50 g dried figs | chopped (or dried cranberries) [optional]
- 50 g glacé cherries | chopped
- 20 g angelica | chopped fine
- 30 g stem or candied ginger | chopped
- 3 tbsp plain flour
- 55 g lightly salted butter
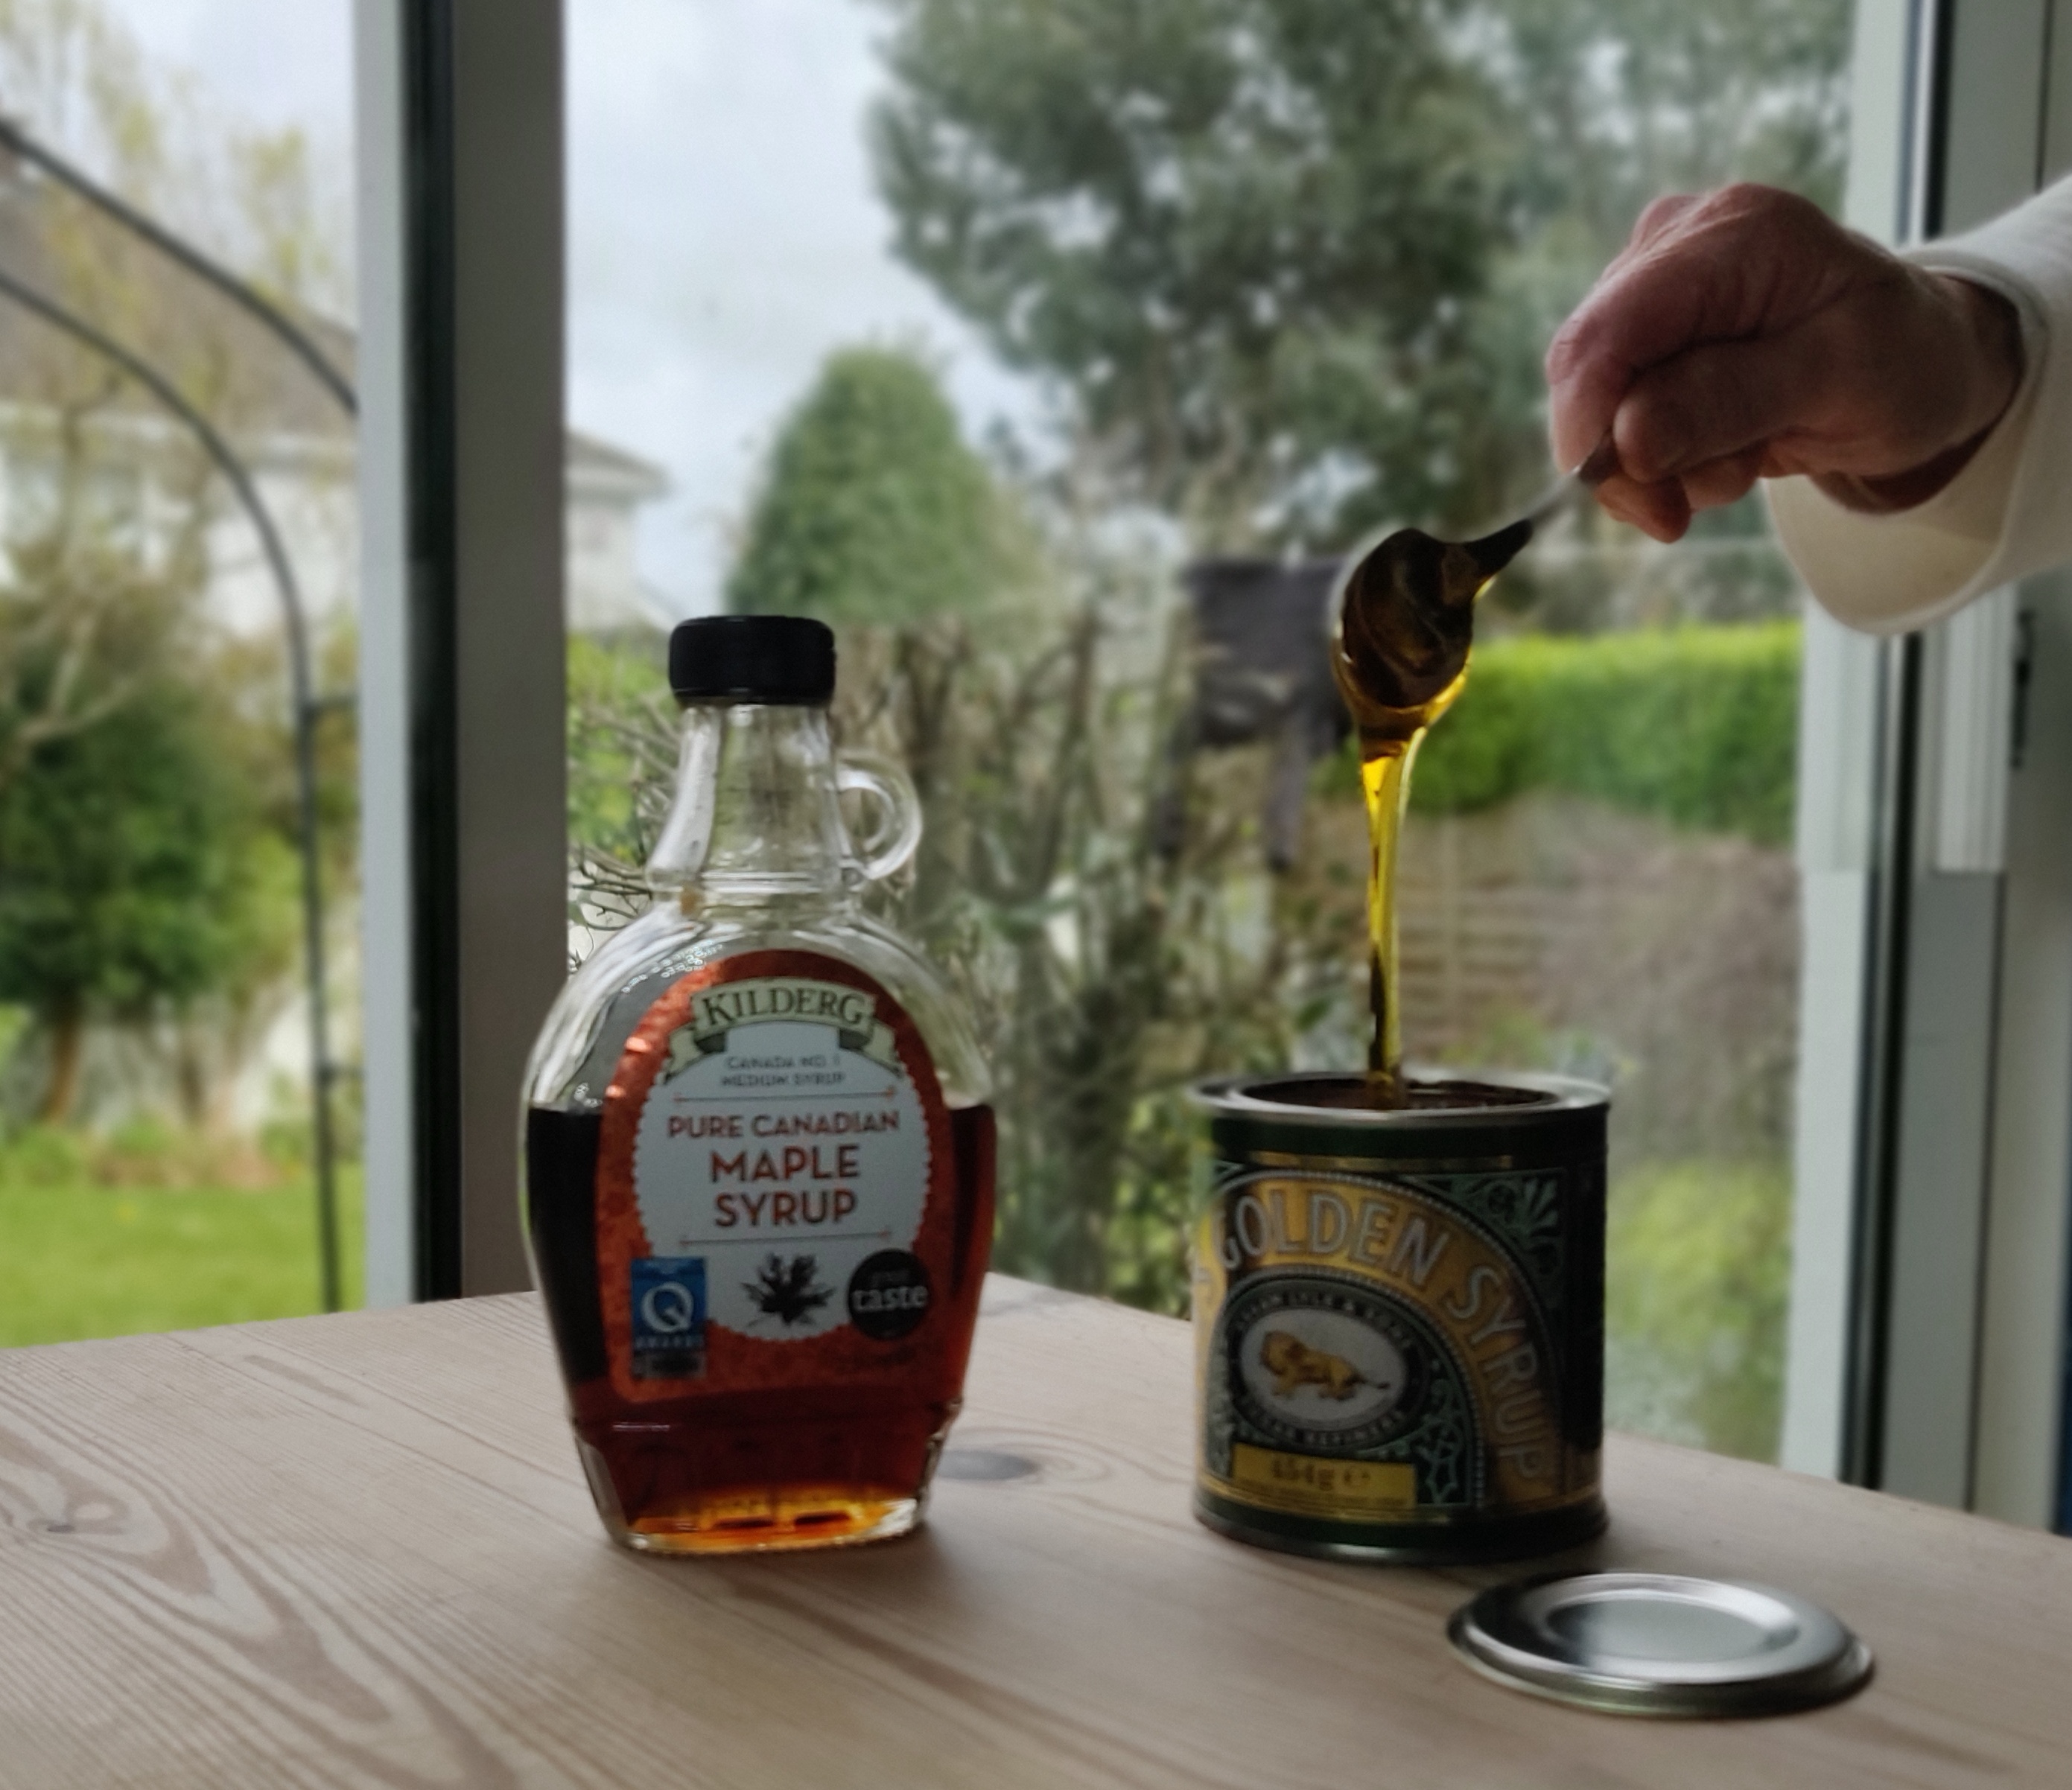
- 100 g Demerara sugar (or half sugar, half golden syrup)
- 2 tbsp double cream
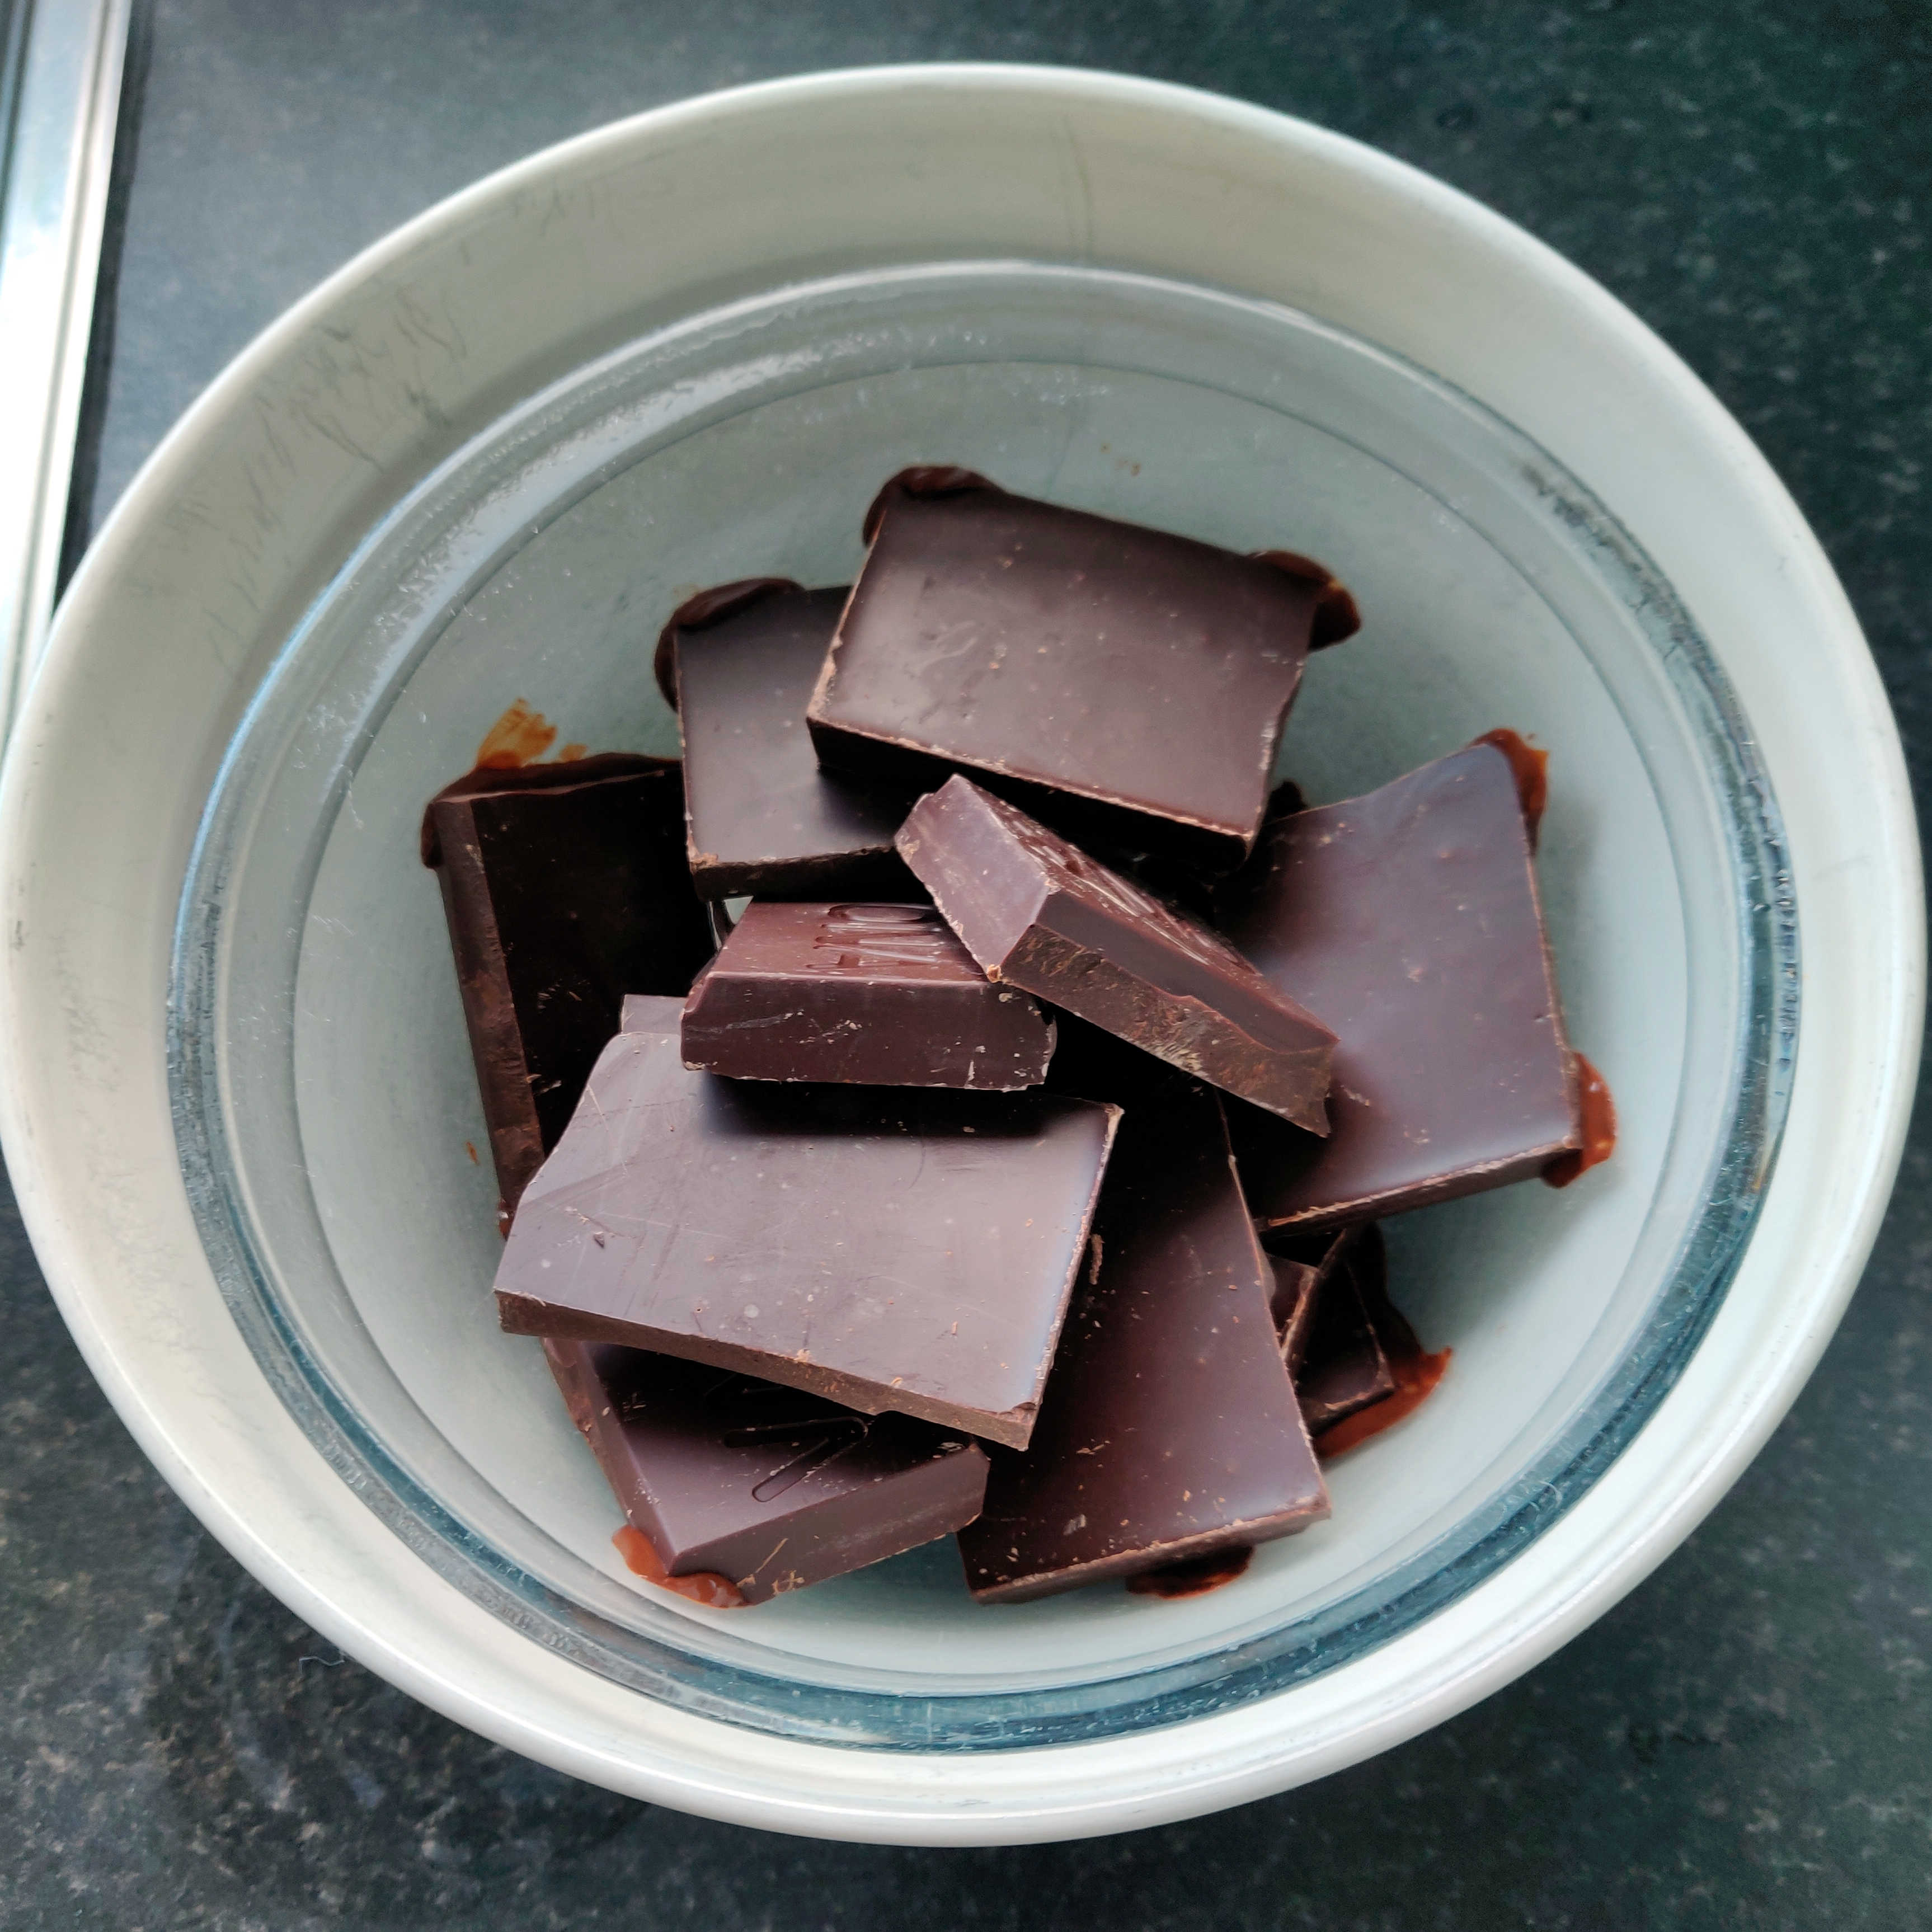
- 180 g dark chocolate [at least 70% cocoa]
Method
While the oven heats, chop the almonds, pistachios, peel, figs, cherries, angelica, and ginger
to roughly even size.
Mix the them together, adding the flour to
stop the bits sticking together.
Melt the butter and sugar in a pan over a low
heat until combined. Do not boil or overheat. When you can
just bear to dip your finger in, stir in the cream.
I haven’t tried using maple syrup instead of golden
syrup. Maple sugar would avoid problems with the syrup being
too runny. (see tip)
Pour into the fruit mix and stir well to combine.
Line two baking sheets with silicone parchment (you’ll
need to cook in two batches unless you have two large baking
sheets and a very even fan oven).
Drop the mix in about 10 g (1 tbsp) blobs, spaced as wide
apart as you can because they will melt and flow. Flatten each
blob gently so that they are of even thickness. I fit 12 to my
baking sheet (3×4), which is as wide as will fit in my oven.
Bake for about 8½ minutes. They’re done when they are
bubbling and the edges are just beginning to brown.
Remove from the oven. You have 2 minutes to use a silicon
spatula to push the edges inwards so that each one is an even
circular shape, all roughly the same size. Then leave to cool.
Do not try to move them off the paper or baking sheet
because they are waffer-thin and very fragile.
Once they solidify a bit, slide the silicone parchment
off the baking sheet onto a flat, cool surface. Do
not put the Florentines directly onto a baking
rack until they are completely cold, or they’ll sag and fall
through the holes.
While they go cold, melt the chocolate in a
double basin. (see tip)
When they are cold, lift each Florentine with a thin blade
or spatula, turn it over in your hand, and paint the back
evenly with melted chocolate, using a silicone brush or the
back of a teaspoon. It takes about 1–1½ tsp per Florentine.
Put them back on the rack to solidify, this time chocolate
side up. Use the fridge if you have space or are in a hurry.
You can decorate the chocolate with wavy fork marks while
it solidifies, if the backs of the Florentines are smooth
enough, but it needs the chocolate to be thicker.
Serving
Your support for our advertisers
helps cover the cost of hosting, research,
and maintenance of this site


